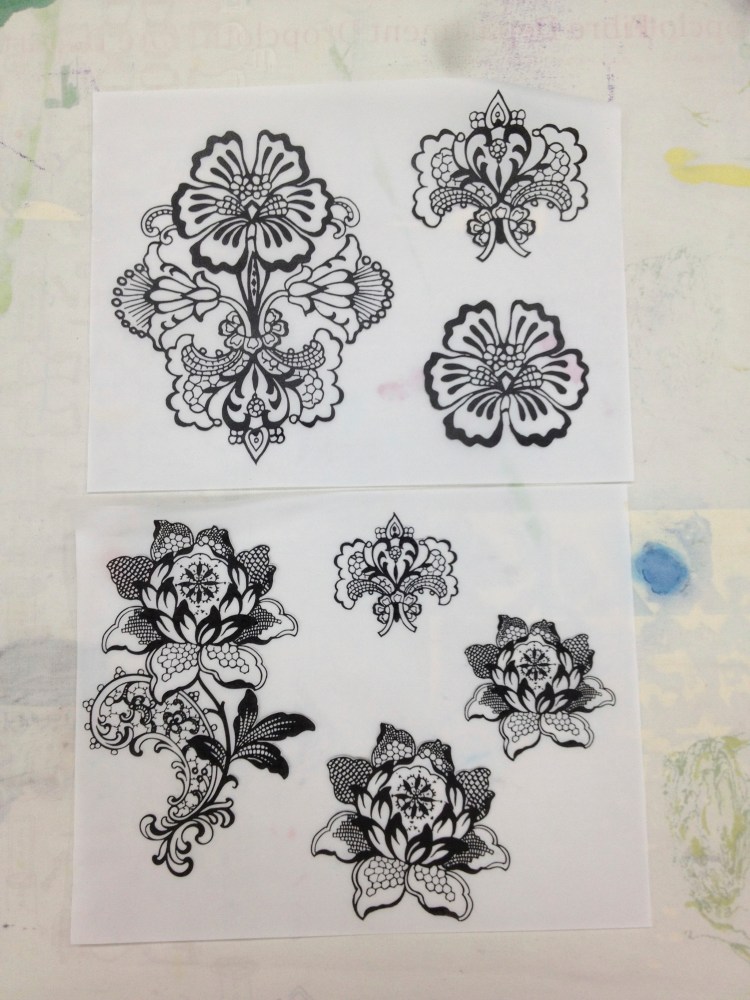
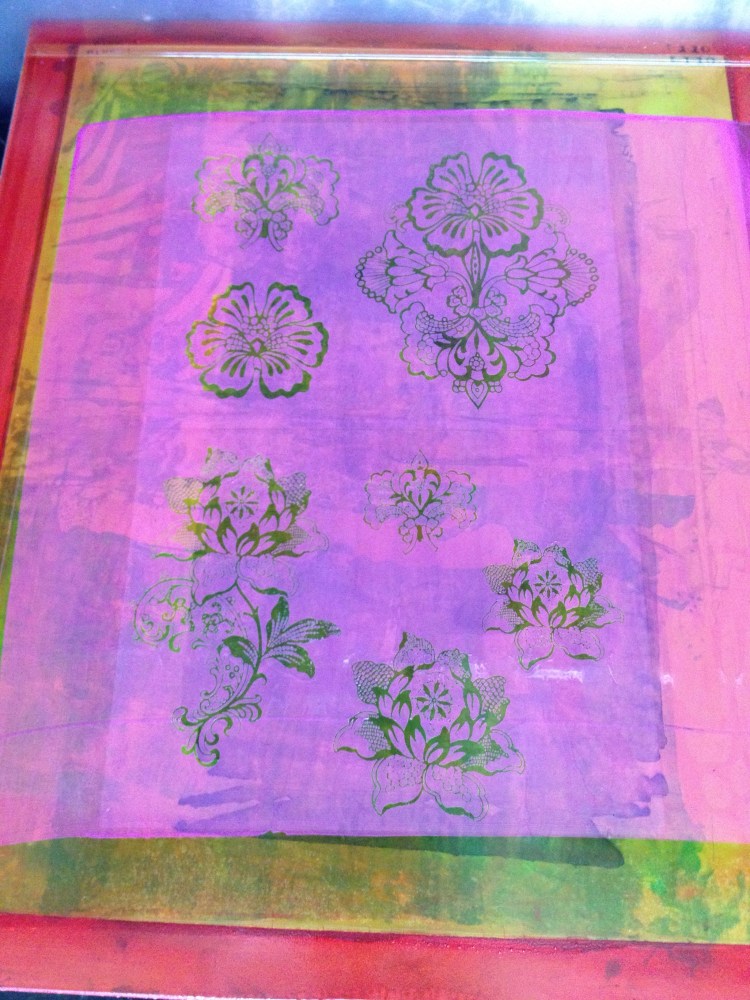
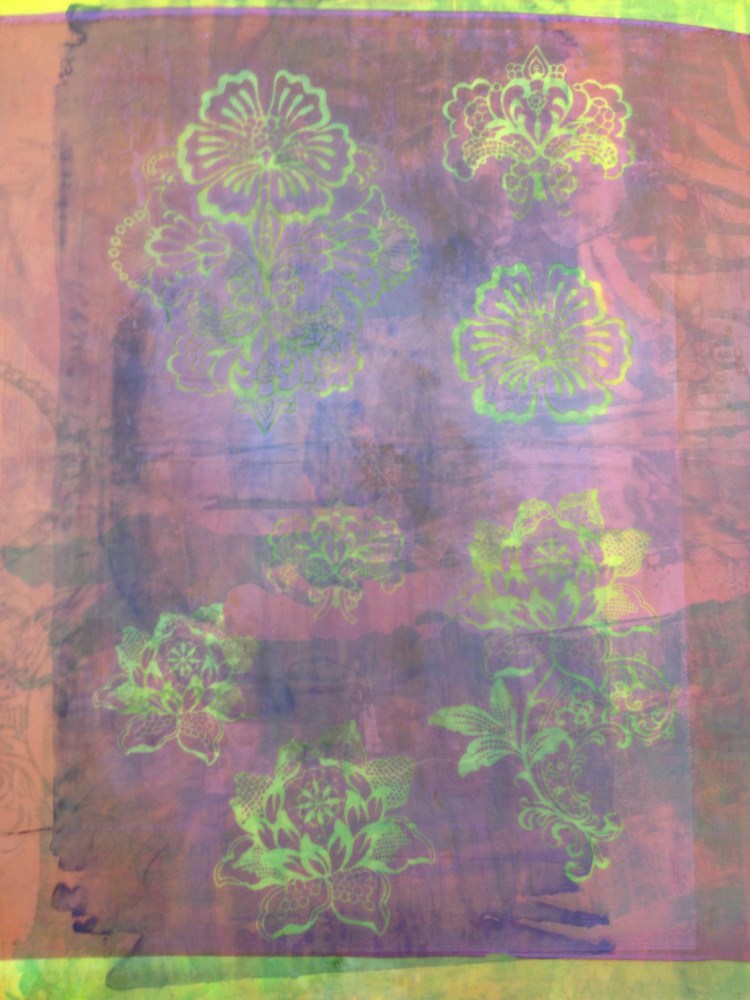
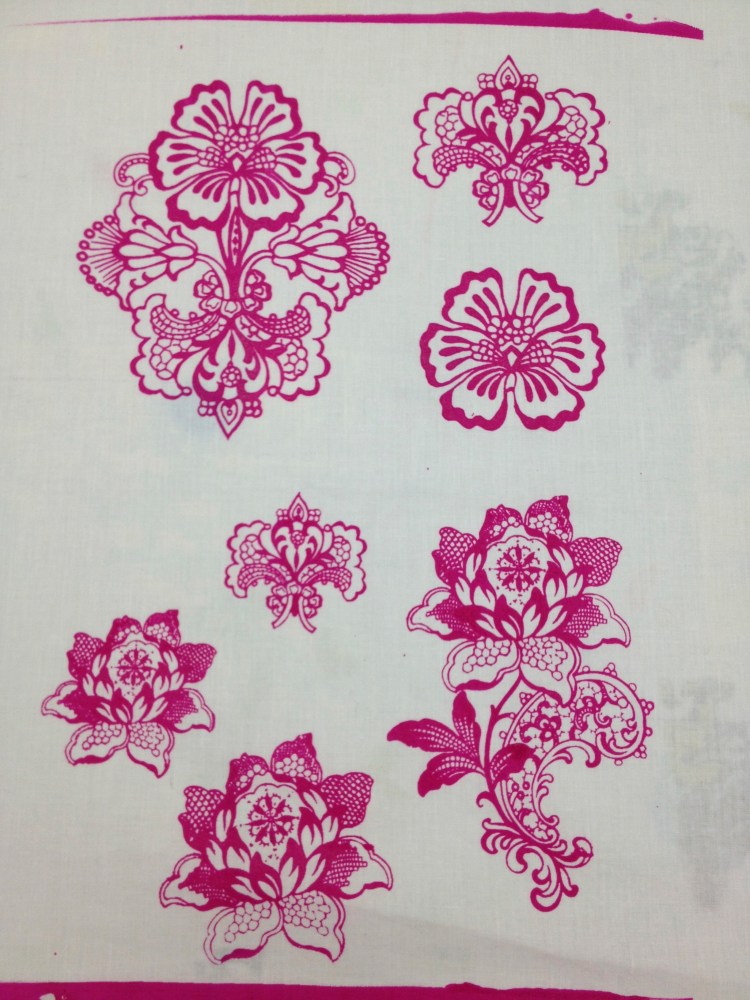
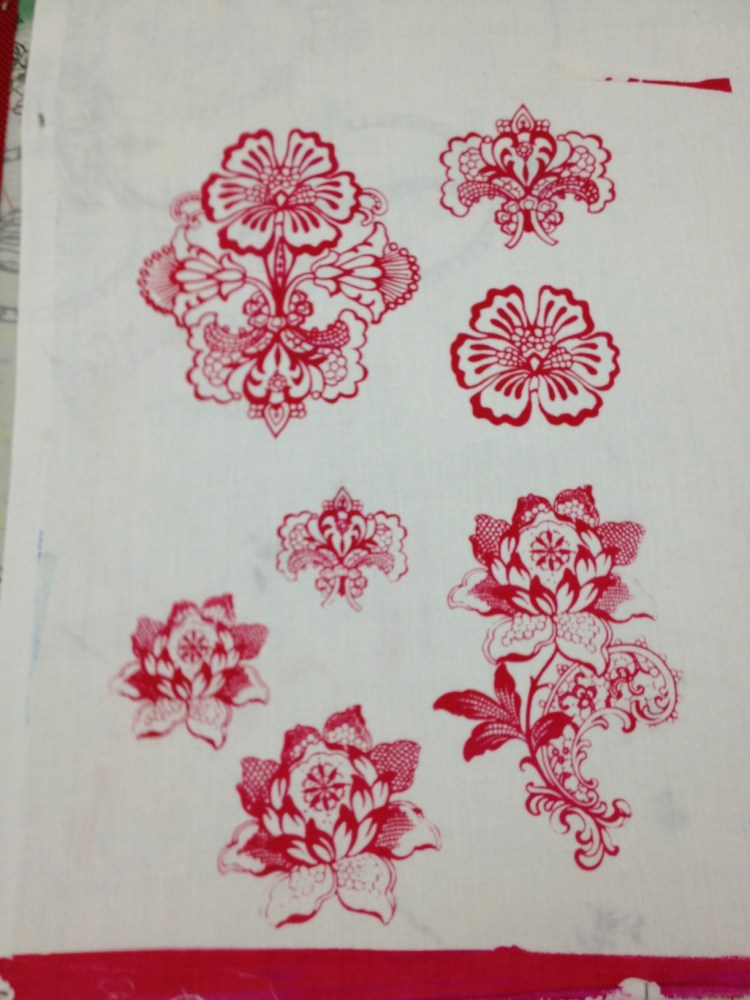
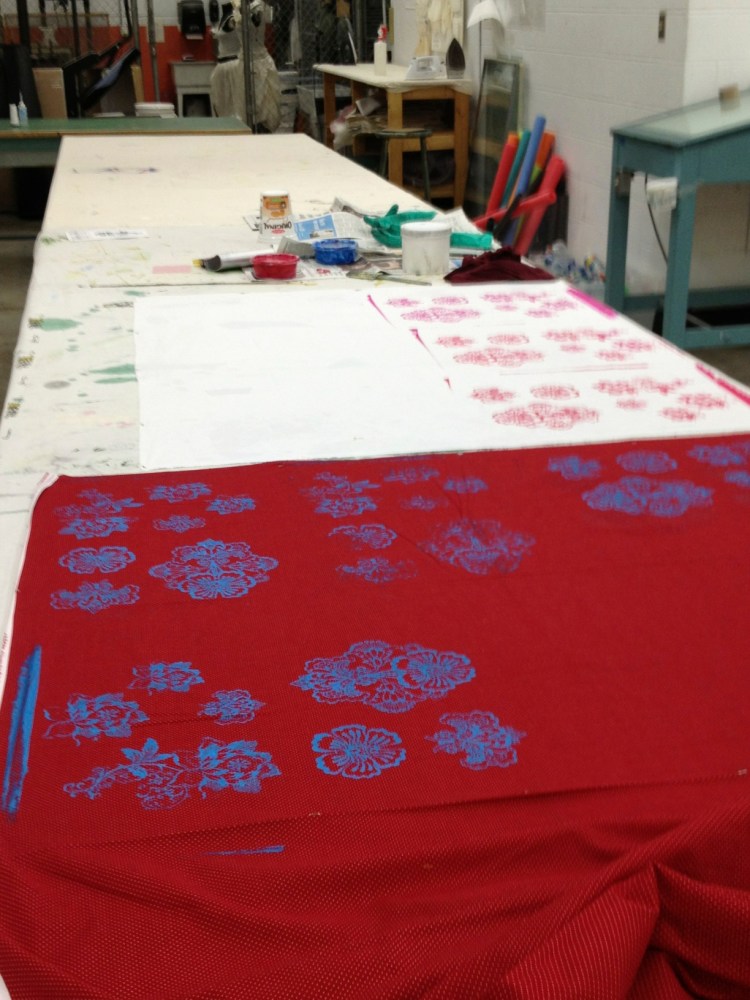
I am having difficulty typing this post as my left hand is starting to seize from tonight’s work. During my class we learned to apply an image to a screen using photo emulsion – a very interesting process. First you need to chose an image (either draw one, trace one or photo-copy something you would like to print). This image must be applied to a clear sheet like acetate, or you can simply oil a printed page, making the unprinted part of the page transparent enough for the light of the light table to get through. For my sample I used copyright free images from Dover Publications which I printed, resized and arranged on 2 sheets. The images are placed under a silk screen (which has been previously treated with photo emulsion material and left in a dark room). The images are exposed on the screens for less than 2 minutes, and then taken out of the dark room to have the photo emulsion material rinsed off. It only rinses off where your image has shielded the light from the screen. So far, so good. The screen is dried off and is ready to print. I printed my images several times and was pleased with the result. I tried a couple of colors on white fabric, and tried printing on a red polka dot. The images were lost on the red because I used transparent inks. I switched to opaque blue and loved the effect. Most of my samples will be cut into strips to incorporate into quilts.

Now that I know those chosen images are good ones, I wanted to clean my screen so I could try something different next week. This is where the heavy duty part of learning started for me.
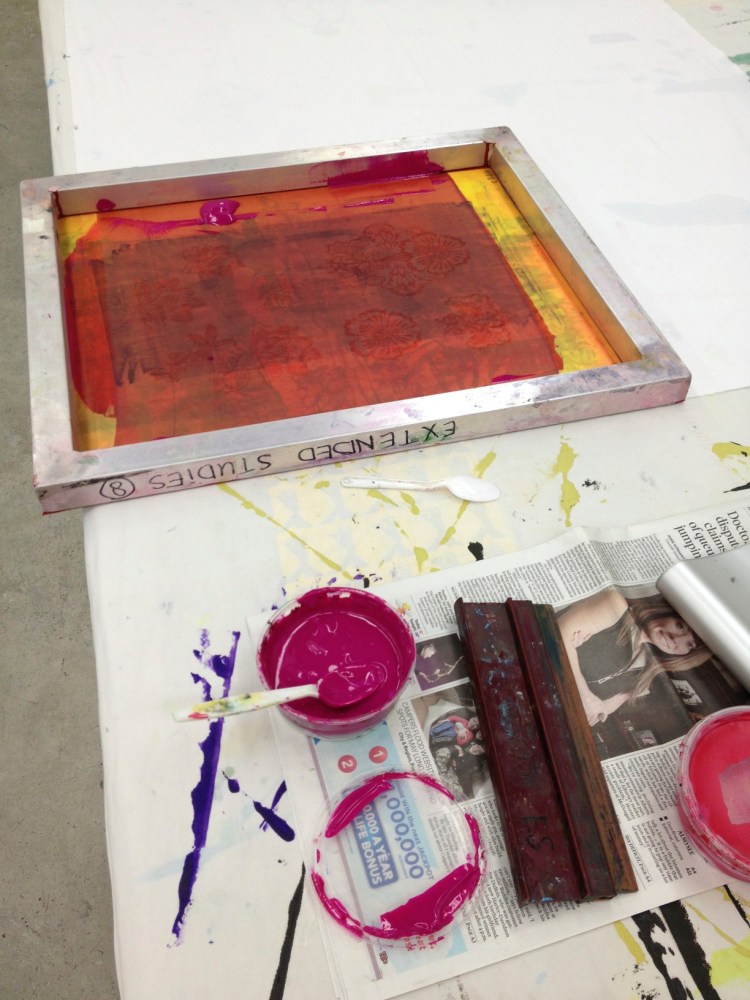
The first step in clean up is to wash all the ink from the screen. It must be done fairly quickly as the ink will dry in the tiny mesh of the screen and it becomes more difficult to remove. I cleaned out all the ink. Next step is to spray a cleaning chemical on the screen, both sides, wait 5 minutes and rinse it off. Sure. Sounds easy enough. I did that but there was still a lot of emulsion on the screen, so I did it again, and again, and again. 4 times I tried to remove the emulsion with limited success. By then it was already 30 minutes past the end of class. Did I mention that no one else had the same problem? My instructor said there was one more product that she would try, but I wasn’t about to leave someone else to clean up my mess. Together we sprayed another stronger chemical cleaner on the screen, scrubbed it with brushes and power washed it, inch by inch. Finally, success! Of course it was then too late to apply the photo emulsion material for next week, and I realize that we didn’t treat the screen with degreaser that is also needed before the emulsion application. Guess I’ll be going extra early next week. I think my hand is tired from using the pump bottles to spray the screens so many times. Sheesh! I’m taking drugs before bed.
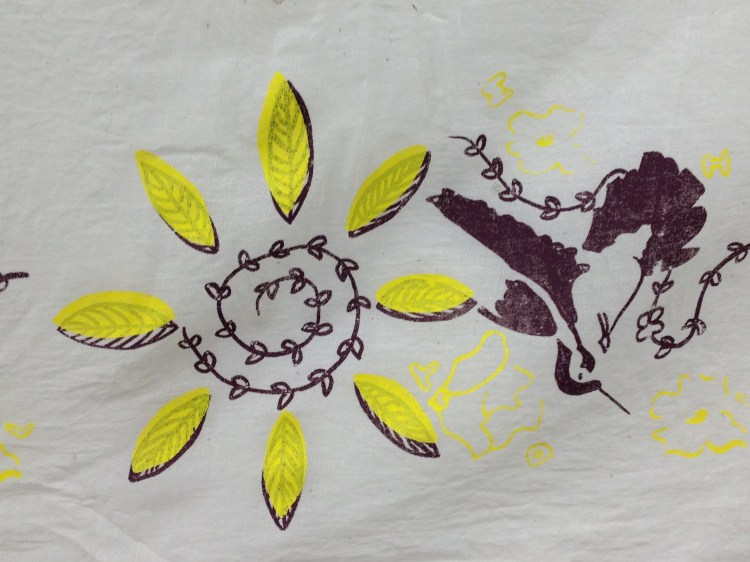
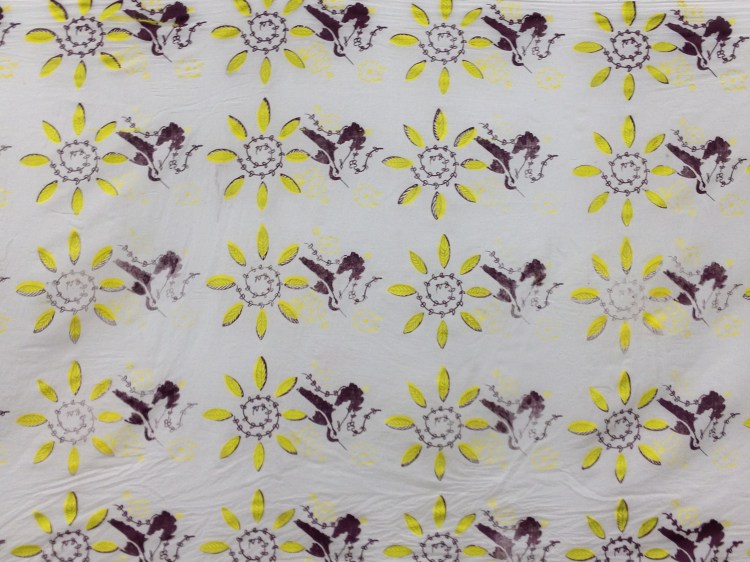
While our class was working, we were joined by a full time ACAD student who needed to finish a project. I’m afraid I missed her name, but she was kind enough to let me photograph her work. We will learn how to handle repeats with registration next week, but I doubt they will look like this. Maybe when I grow up I’ll be able to do this:

Love those designs
LikeLike
Thanks. Now I’m busy trying to figure out how best to use them!
LikeLike
You do get up to some fascinating things, Terri!
LikeLike
Scarey, isn’t it?
LikeLike
I am so drawn to this form of art! It appeals to me in every way, and your completed designs are beautiful! It does sound like a lot of work, and I’d need someone to hold my hand. But I admire immensely! 🙂
LikeLike
Thank you. I’m enjoying it but there is a lot to learn, and remember from week to week. Hopefully by the time the course is over I’ll have a grasp of the basics.
LikeLike
Hi terri
Your screening looks fabulous. I am envious of all that you are learning.
Lorraine
LikeLike
We need to set up a play date!
LikeLike